
Quests
Objectives, reward choices, and quest givers. Dialogue is hidden until you choose to reveal it.
How quests and commissions work
- Open Quests beneath Portal in High Anchorage. The field journal is read-only. Story assignments activate when their expedition or Pinnacle is discovered; commissions are accepted in Town.
- Each of the three commission slots offers up to three currently eligible assignments from discovered destinations. Choose one per slot. Claiming a reward, or replacing an assignment whose destination has become locked, starts that slot's four-active-hour cooldown. Offline time does not count.
- Combat, harvest, chest, and extraction objectives must be completed in the named destination at or above the assignment's reward level. Story reward level is set when the assignment activates; commissions use the main character's level when accepted, with the quest's minimum level as a floor.
- Delivery objectives read Shared Inventory and Stash. Materials are consumed only when the reward is claimed, using Inventory first and Stash second. Items in Mail or paid crafting escrow do not count as available delivery stock.
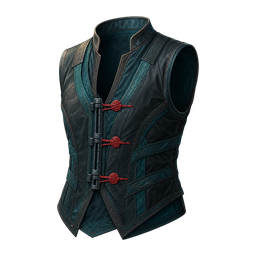
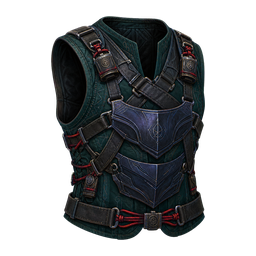
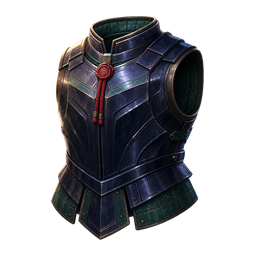
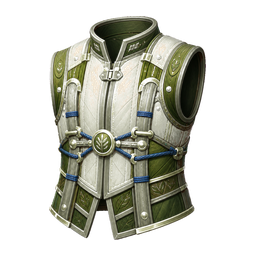
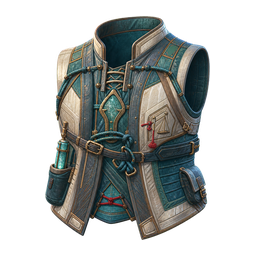
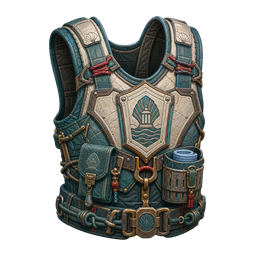
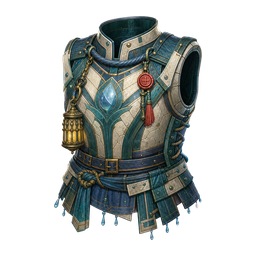
- Choose one of the listed armor rewards and receive the displayed Aurel amount. Reward affixes and rolls are fixed for that assignment and reward level; reopening the journal does not reroll them. Full Shared Inventory sends the equipment reward to Mail.
- Story rewards allow up to six legal ordinary affixes; commission rewards allow up to four, subject to the reward level's normal affix limit and compatible pool. Quest rewards use upper-quartile rolls, not guaranteed maximum rolls.
- Completed story quests remain completed after ascension. Assignments whose required level or destination is no longer accessible pause until available again. Quests do not grant XP or introduce a separate currency.
 Story Quests · Glassmoon Memorial ReachLamps for the RememberedHesta Coil · Level 10 minimumView assignment
Hesta Coil · Glassmoon Memorial Reach
Objectives
- Defeat hostiles in Glassmoon Memorial Reach: 20
- Deliver Marrow Silver Ore: 8. Consumed at turn-in. Find farming locations
- Deliver Bell Sage: 6. Consumed at turn-in. Find farming locations
Rewards
Aurel: 90 + (6 × reward level), plus one armor choice. The journal fixes the reward level when the assignment begins.
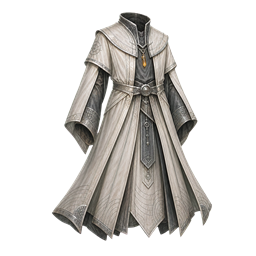
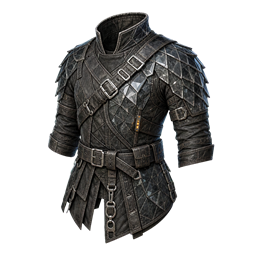
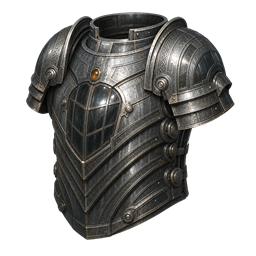
Reveal quest dialogue (spoilers)
Introduction
A memorial district needs more than a sealed door to stay habitable. Its defenders won't let repair crews near the failing works. Make some room, then bring me marrow silver and bell sage. We can mend equipment here without disturbing anyone's grave.
Completion
Good silver, and the sage survived the crossing. I'll put both into the repair stores. Your report will help the crews tell a working seal from a door that was meant to stay closed.
Story Quests · Cradle DriftThe Shift That Never EndedHesta Coil · Level 20 minimumView assignment
Objectives
- Defeat hostiles in Cradle Drift: 20
- Deliver Cradle Nickel Ballast: 8. Consumed at turn-in. Find farming locations
- Deliver Sleepmint: 6. Consumed at turn-in. Find farming locations
Rewards
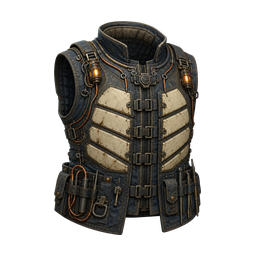
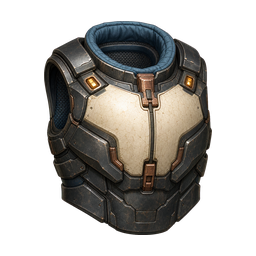
Aurel: 90 + (6 × reward level), plus one armor choice. The journal fixes the reward level when the assignment begins.
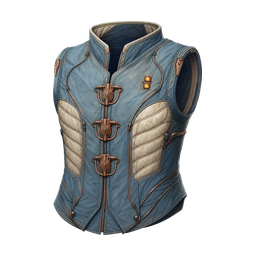
Reveal quest dialogue (spoilers)
Introduction
The caretakers are still tending their plots, but their schedules don't agree. Some of those arks arrived generations apart. Get through the active defenses and recover nickel ballast and sleepmint. I want to see what the old crews were keeping in service.
Completion
Different crews, different schedules, and no one left to settle the argument. The ballast is sound. We'll use what you brought, and keep your observations with the repair notes.
Story Quests · Korr Deepforge MoonsAfter the Last ShiftHesta Coil · Level 30 minimumView assignment
Hesta Coil · Korr Deepforge Moons
Objectives
- Defeat hostiles in Korr Deepforge Moons: 20
- Deliver Deepforge Ore: 8. Consumed at turn-in. Find farming locations
- Deliver Ash Balm: 6. Consumed at turn-in. Find farming locations
Rewards
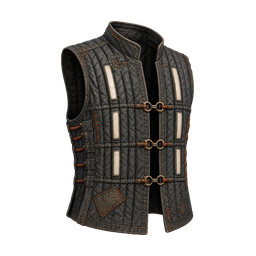
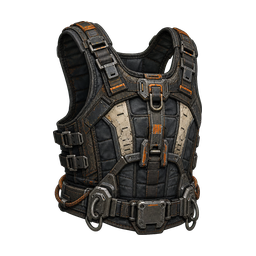
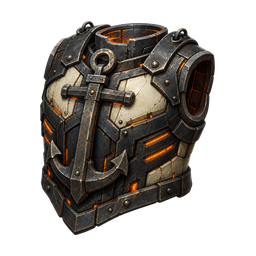
Aurel: 90 + (6 × reward level), plus one armor choice. The journal fixes the reward level when the assignment begins.
Reveal quest dialogue (spoilers)
Introduction
Those workings were abandoned, not shut down. The machines are still carrying the last shift's orders under all that pressure. Clear the threats on your route and bring back deepforge ore and ash balm. Don't mistake a quiet machine for a safe one.
Completion
The ore can go straight to the workshop. Keep the balm away from the hot benches. Your report explains why the old works still resist every visitor; it doesn't make those orders worth obeying.
Commissions · Greenveil FrontierGreenveil Frontier: Lost StoresHesta Coil · Level 1 minimumView assignment
Hesta Coil · Greenveil Frontier · Commission slot 3
Objectives
- Open chests in Greenveil Frontier: 3
Rewards
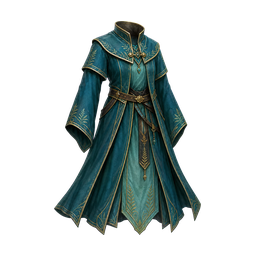
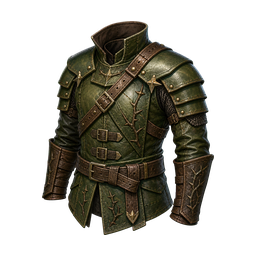
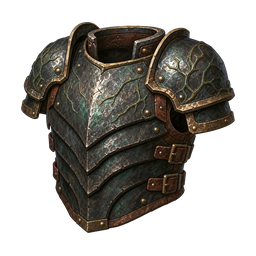
Aurel: 30 + (3 × reward level), plus one armor choice. The journal fixes the reward level when the assignment begins.
Reveal quest dialogue (spoilers)
Introduction
The survey crews left useful caches behind. Open what you find along the roads and check the old stores.
Completion
I'll add your work to the crew notes. Take your payment before the next crossing.
Commissions · Glassmoon Memorial ReachGlassmoon Memorial Reach: Fresh GatheringHesta Coil · Level 10 minimumView assignment
Hesta Coil · Glassmoon Memorial Reach · Commission slot 3
Objectives
- Complete harvests at Bell Sage: 3
Rewards
Aurel: 30 + (3 × reward level), plus one armor choice. The journal fixes the reward level when the assignment begins.
Reveal quest dialogue (spoilers)
Introduction
Hesta needs a fresh account of the bell sage beds. Work several patches while you're in the memorial districts.
Completion
I'll add your work to the crew notes. Take your payment before the next crossing.
Commissions · Cradle DriftCradle Drift: Lost StoresHesta Coil · Level 20 minimumView assignment
Hesta Coil · Cradle Drift · Commission slot 3
Objectives
- Open chests in Cradle Drift: 3
Rewards
Aurel: 30 + (3 × reward level), plus one armor choice. The journal fixes the reward level when the assignment begins.
Reveal quest dialogue (spoilers)
Introduction
Check the old stores along your Cradle route. Open the caches you find before their contents are lost to another maintenance cycle.
Completion
I'll add your work to the crew notes. Take your payment before the next crossing.
Commissions · Korr Deepforge MoonsKorr Deepforge Moons: Fresh GatheringHesta Coil · Level 30 minimumView assignment
Hesta Coil · Korr Deepforge Moons · Commission slot 3
Objectives
- Complete harvests at Ash Balm Cluster: 3
Rewards
Aurel: 30 + (3 × reward level), plus one armor choice. The journal fixes the reward level when the assignment begins.
Reveal quest dialogue (spoilers)
Introduction
Work the ash balm clusters while you're in the workings. Hesta wants to know which beds are still accessible.
Completion
I'll add your work to the crew notes. Take your payment before the next crossing.
Commissions · The Sable Writ IslesThe Sable Writ Isles: Lost StoresHesta Coil · Level 40 minimumView assignment
Hesta Coil · The Sable Writ Isles · Commission slot 3
Objectives
- Open chests in The Sable Writ Isles: 3
Rewards
Aurel: 30 + (3 × reward level), plus one armor choice. The journal fixes the reward level when the assignment begins.
Reveal quest dialogue (spoilers)
Introduction
Check the sealed caches along your island route. Anything left under those patrols needs a careful look.
Completion
I'll add your work to the crew notes. Take your payment before the next crossing.
Commissions · Asterhome: The Unreceived WorldAsterhome: The Unreceived World: Fresh GatheringHesta Coil · Level 50 minimumView assignment
Hesta Coil · Asterhome: The Unreceived World · Commission slot 3
Objectives
- Complete harvests at Wakeleaf Patch: 3
Rewards
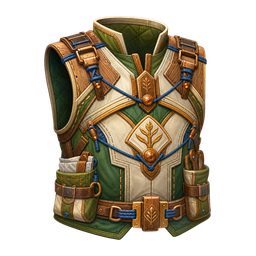
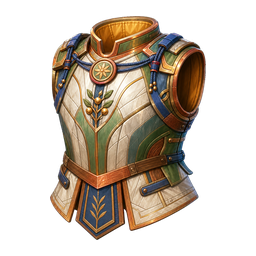
Aurel: 30 + (3 × reward level), plus one armor choice. The journal fixes the reward level when the assignment begins.
Reveal quest dialogue (spoilers)
Introduction
Gather from the wakeleaf beds in Asterhome. I'd like a fresh account of the gardens the caretakers are still tending.
Completion
I'll add your work to the crew notes. Take your payment before the next crossing.
Commissions · Nhal-Serat Mirror BeltNhal-Serat Mirror Belt: Lost StoresHesta Coil · Level 60 minimumView assignment
Hesta Coil · Nhal-Serat Mirror Belt · Commission slot 3
Objectives
- Open chests in Nhal-Serat Mirror Belt: 3
Rewards
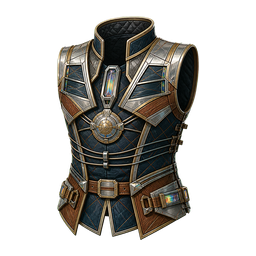
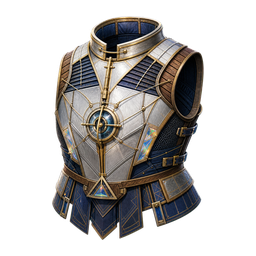
Aurel: 30 + (3 × reward level), plus one armor choice. The journal fixes the reward level when the assignment begins.

Reveal quest dialogue (spoilers)
Introduction
Open the caches you find around the observatory routes. Their actual contents are more useful to us than a forecast.
Completion
I'll add your work to the crew notes. Take your payment before the next crossing.
Commissions · Vaelari Tide CourtsVaelari Tide Courts: Fresh GatheringHesta Coil · Level 70 minimumView assignment
Hesta Coil · Vaelari Tide Courts · Commission slot 3
Objectives
- Complete harvests at Tidesage Patch: 3
Rewards
Aurel: 30 + (3 × reward level), plus one armor choice. The journal fixes the reward level when the assignment begins.
Reveal quest dialogue (spoilers)
Introduction
Work the tidesage beds along the sanctuary routes. Tell me which ones a visiting crew can still reach.
Completion
I'll add your work to the crew notes. Take your payment before the next crossing.
Commissions · Moonfen Salvage ReachMoonfen Salvage Reach: Pools and SalvageHesta Coil · Level 100 minimumView assignment
Hesta Coil · Moonfen Salvage Reach · Commission slot 3
Objectives
- Complete fishing at Reedwater Fishing Pool: 2
- Complete scrounging at Moonfen Salvage Heap: 2
Rewards
Aurel: 130 + (4 × reward level), plus one armor choice. The journal fixes the reward level when the assignment begins.
Reveal quest dialogue (spoilers)
Introduction
We need fresh work at the Reedwater Fishing Pool and the Moonfen Salvage Heap. Take a look while you're making the Moonfen Salvage Reach crossing.
Completion
Fresh observations, from someone who did the work. That gives the workshop something useful to go on.
Commissions · Cinderwake CalderaCinderwake Caldera: Pools and SalvageHesta Coil · Level 100 minimumView assignment
Hesta Coil · Cinderwake Caldera · Commission slot 3
Objectives
- Complete fishing at Cinderwake Silverfin Pool: 2
- Complete scrounging at Cinderwake Ceramic Salvage Heap: 2
Rewards
Aurel: 130 + (4 × reward level), plus one armor choice. The journal fixes the reward level when the assignment begins.
Reveal quest dialogue (spoilers)
Introduction
We need fresh work at the Cinderwake Silverfin Pool and the Cinderwake Ceramic Salvage Heap. Take a look while you're making the Cinderwake Caldera crossing.
Completion
Fresh observations, from someone who did the work. That gives the workshop something useful to go on.
Commissions · Gutterbloom UnderwaysGutterbloom Underways: Pools and SalvageHesta Coil · Level 150 minimumView assignment
Hesta Coil · Gutterbloom Underways · Commission slot 3
Objectives
- Complete fishing at Gutterbloom Gutterfin Pool: 2
- Complete scrounging at Gutterbloom Courtyard Salvage: 2
Rewards
Aurel: 130 + (4 × reward level), plus one armor choice. The journal fixes the reward level when the assignment begins.
Reveal quest dialogue (spoilers)
Introduction
We need fresh work at the Gutterbloom Gutterfin Pool and the Gutterbloom Courtyard Salvage. Take a look while you're making the Gutterbloom Underways crossing.
Completion
Fresh observations, from someone who did the work. That gives the workshop something useful to go on.
Commissions · Mirrortide ExpanseMirrortide Expanse: Pools and SalvageHesta Coil · Level 150 minimumView assignment
Hesta Coil · Mirrortide Expanse · Commission slot 3
Objectives
- Complete fishing at Sunscale Bream Pool: 2
- Complete scrounging at Mirrortide Lens-Rig Salvage: 2
Rewards
Aurel: 130 + (4 × reward level), plus one armor choice. The journal fixes the reward level when the assignment begins.
Reveal quest dialogue (spoilers)
Introduction
We need fresh work at the Sunscale Bream Pool and the Mirrortide Lens-Rig Salvage. Take a look while you're making the Mirrortide Expanse crossing.
Completion
Fresh observations, from someone who did the work. That gives the workshop something useful to go on.